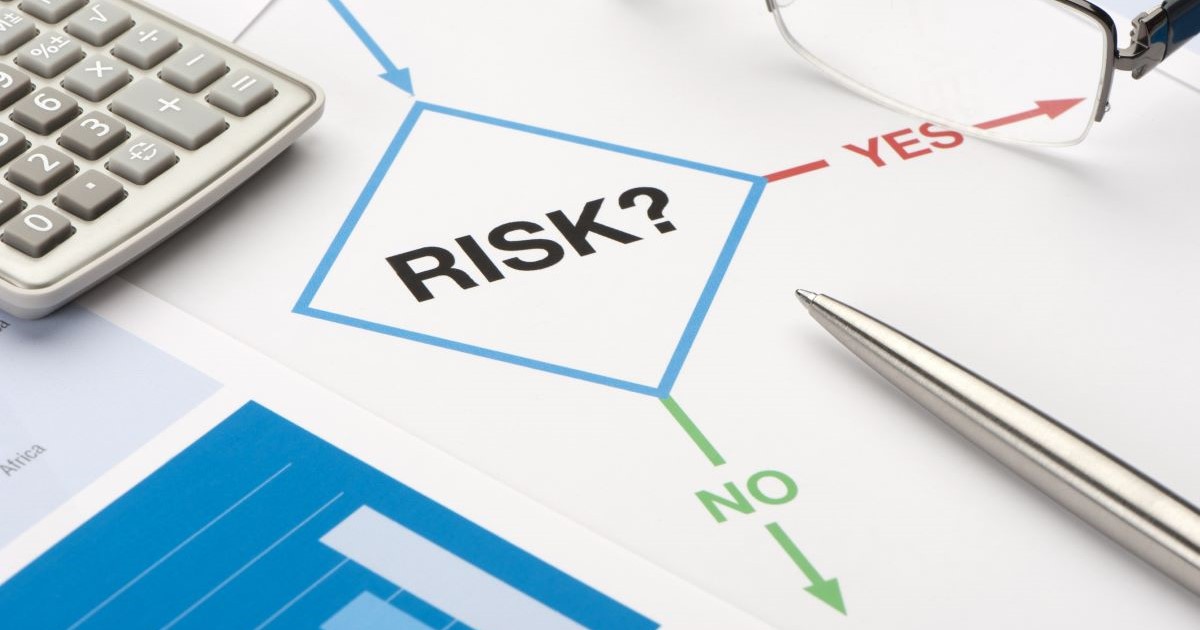
Risks are an inherent and inseparable part of any business. Additionally, business risk is a component of ”total risk” and represents the fact that an organisation may experience events or circumstances that create a threat to its ability to continue operating.
Therefore, as any project progresses, the probability (and impact) of current risks changes, new risks emerge, and residual risks may increase or decrease over the project lifecycle.
It is extremely crucial that an organisation follows Risk Management practices and techniques to stay on a resilient (and Agile) path, ensure every risk is evaluated, prioritised, and thereby define your alternative solutions.
What is the purpose of using Risk Management Techniques?
Risk Management techniques are protocols and ideas which are used to help to control risks in an organisation. The purpose is to enable organisations to create the best possible Risk Management strategy and to identify, evaluate, reduce, or remove risk, so that these risks will not have as much of a potential impact.
It is an innovative idea to choose techniques (based on precedence) and tools (chosen directly after setting the context) to be implemented at the correct stage of your project. However, a structured approach helps make it easier to complete your Risk Management process, your tools and techniques should be selected from a ‘best practice’ framework.
Risk Management: Types of Techniques
IDENTIFICATION

This initial process is to uncover, recognise, and describe risks that could affect the outcome of your project. So, the main question here to ask is to ask the following – “What could stop us from reaching our set goals and objectives?”.
During this identification phase, any type of analysis is simply for information gathering purposes but identifying the causes of an issue and developing your preventative techniques is the main motivation for identifying risk.
1. Brainstorming Session
The first step in Risk Management is to plan your strategy. The Brainstorming Session is conducted with your team members and the Project Manager to assess the potential risks that could impact the project’s completion and success.
The steps involved in the Brainstorming Session starts with:
- Reviewing your project documentation.
- Researching your historical data, documentation, processes, past internal audits, information, and lessons about risks (from previous projects).
- Reviewing related articles to the risks involved.
- Understanding your organisational process assets.
- Any information that provides any insights into the various issues that may occur during the project’s duration.
2. Conduct Expert Interviews and Workshops
Well, this is simply about talking to stakeholders and project participants. It provides the Project Team members with an opportunity to undertake a “deep dive” into the possible threats (and opportunities) on the project. This technique has two (2) main uses:
Risk Identification
- Participants involved in the project and other Subject Matter Experts (SME) have an insight into the items or processes that might cause project risk.
Risk Action Planning
- Subject Matter Experts (SME) may help with broadening your risk options, by offering up diverse ways to address a risk and then, deciding what to do next.
With the diversity of experience and expertise, this is to ensure that all participants have a collective understanding of the project risks. The outputs contribute a greater number of opinions and are also viewed as an effective communication model.
3. Delphi Method
The Delphi Method consists of gathering information in both an anonymous and structured manner, usually through the completion of questionnaires. It is managed by a Facilitator who is responsible for compiling the ideas (risks) that have been identified by Subject Matter Experts (SME).
This technique is conducted over several rounds. In each round, the SME’s formulate a list of risks (or answer a specific questionnaire) and submit feedback to the Facilitator. Once the results of the 1st Round are summarised, this provides the basis for the 2nd Round, etc. Based on the results of the information collected in each round, SME’s can review or change their opinions and present new arguments. This process continues until all project participants reach an agreement.
ANALYSIS

Risk analysis involves examining how project outcomes and objectives might change due to the impact of the risk event. Once risks are correctly identified, they are analysed to identify the qualitative and quantitative impact of the risk. Then, prioritised into which risks will have the greatest impact on your project and so that appropriate steps can be taken to mitigate them.
Risk analysis can be categorised into two (2) main areas:
Qualitative Risk Analysis
Qualitative Risk Analysis should generally be performed on all risks, for all projects. It prioritises the identified project risks using a pre-defined rating scale.
Risks will be scored based on their probability of occurring and the impact on project objectives should they occur. It also includes the appropriate categorisation of risks, either source-based or effect-based.
Quantitative Risk Analysis
Quantitative Risk Analysis has a more limited use, based on the type of project, the project risks, and the availability of data to conduct the quantitative analysis.
It is a further analysis of the highest priority risks during a which a numerical (or quantitative) rating is assigned to develop a probabilistic analysis of achieving specific project objectives. This process provides a quantitative approach to making decisions when there is uncertainty and creates realistic (and achievable) cost, schedule, or scope targets.
1. Perform a “Root Cause” Analysis
Root Cause Analysis is used to identify all the risks embedded within your project. By conducting this process, this shows the responsiveness of the Project Team members to address (and resolve) the “root cause” of the issue and rather than just focusing on treating the symptoms.
The Root Cause Analysis provides answers to the following questions:
- What happened?
- Why did it happen?
- How did it happen?
By answering the above questions, this enables your Project Team to develop an Action Plan and that the same mistakes are not repeated (in the future). This is to ensure that your organisation is not only responsive but also preventive in their approach to managing risks.
2. Swift Analysis
Structured What If Technique (SWIFT) is a risk analysis method that uses structured brainstorming with guidewords and prompts to identify risks. It focuses on identifying potential risks in a facilitated workshop where a predetermined set of guidewords (timing, amount, etc.) are combined with prompts elicited from participants that often begin with phrases such as “what if?”.
SWIFT is a list of guidewords to enable a comprehensive review of risks or sources of risk. At the start of the workshop the context, scope and purpose of the SWIFT is discussed and criteria for success is clearly articulated.
3. Ishikawa Diagram
The Ishikawa Diagram (also called Fishbone Diagram, Herringbone Diagram, or Cause-and-Effect Diagram) was created by Kaoru Ishikawa in the 1960’s and who pioneered quality management processes in the Kawasaki shipyards, and in the process became one of the founding fathers of modern Change Management.
An Ishikawa Diagram helps to break down a problem and identify the component parts to provide an understanding into the drivers for project risk. It is often used to work backwards from an issue (the effect), by identifying the cause and is a source of variation. Causes are usually grouped into major categories to identify and classify these sources of variation.
4. Decision Tree Diagram
Decision Tree Diagram is a visual diagram that helps to analyse your alternatives at one (1) single point of time. They are models of ‘real’ situation and considers the future events, in making the actual decision today.
It plots risk management actions and branches out in different directions. Each ’branch’ highlights one (1) feasible option but can also ’branch’ off again if the path splits again. Each feasible option may result in an altogether different solutions and costs.
A Decision Tree Diagram is used to drill down to the potential path(s), where there are multiple routes to address the risk and where the risk impact is significant, before agreeing next steps.
PLANNING

The planning process is the final step. This is more about getting ready to prepare your project for risk and continuous management of identified risks. Here are some simple techniques that will help make an easier transition towards the planning process:
1. Assess your Risk Data Quality
Risk Data Quality Assessment is used to collect all the data information about the identified risks and find details about the risks that could impact the project. This helps the Project Manager and team members to have a better understanding of the qualitative analysis of risks.
For each risk, in Risk Data Quality Assessment, the Project Manager needs to determine:
- Extent of the understanding of the risk.
- What data is available?
- Quality and reliability of the data.
- Integrity of the data.
2. Analyse Variances and Trends
Just like other control processes in the project, Variance and Trend Analysis helps look for differences or variances between Project Schedules (and costs) and then, compares them with actual results to see if they are consistent or not.
As the variances rise, uncertainty and risk also rise simultaneously. This method is a fantastic way to monitor and control risks throughout the project lifecycle. Keeping an eye on the Variance and Trend Analysis makes it easier for you to tackle and solve problems.
3. Conduct and Apply Reserve Analysis
A crucial element is to plan a budget for your project with adequate provisions for both Contingency Measures and Management Reserves.
- Contingency Measures are reserves that consider the risks that you know will occur.
- Management Reserves are reserves for risks that have not been identified.
This is to safeguard your project from risk (expected and unexpected) that might occur during the project. These financial reserves are your Plan ‘B’ that can be used to mitigate risks during the project.
Summary
Risk Management techniques can help you manage risks, navigate the process, and resolve them effectively. But to be able to understand the risks to any project and utilise the full potential of any tools and techniques, your Project Team members need to be fully aware of the risks present in the organisational environment.
This can only happen when they have prior knowledge of the impact, been involved in the planning and training phases with managing risks in a project. By easily understanding the current issues and associated risks to a project, only then can they take appropriate action to reduce (and manage) the impact of risks.
Need some guidance on your next steps? Let’s start a conversation…


